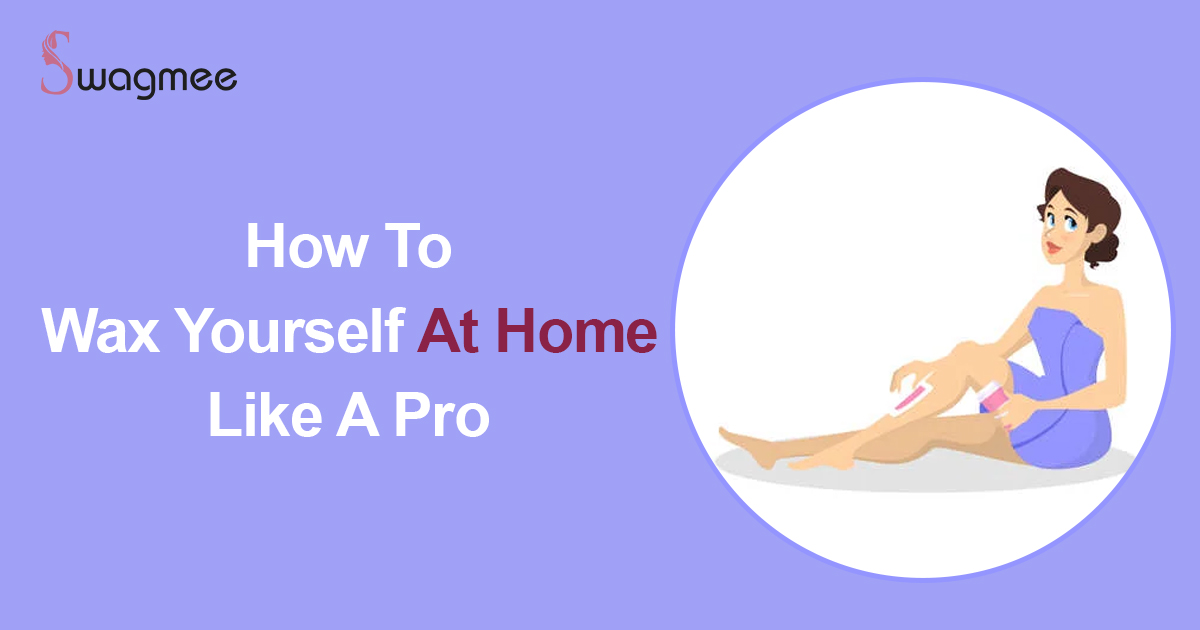
How To Wax Yourself At Home Like A Pro
My first experience when I attempted to wax the legs in my home, it was an absolute train wreck. What's so difficult about it is it? Let's imagine that the ladies from a salon at home service will make you seem like it's a stroll in the park. Hair removal isn't for those with weak legs. Also, it's not for those who aren't prepared (which I certainly was).
After a lot of trial and error I'm able to say that when you're doing it correctly it could be an enjoyable experience in a self-care masochistic kind of way. However, waxing is better than shaving every day, therefore I'll accept it.

How to apply wax at home
1. Make sure you have all the supplies
All you really require to use at-home waxing is a stick for a popsicle, depilatory wax, and cotton strips for waxing. Other items, such as wax warmers and a post-wax spray for soothing or wax remover are useful but aren't essential.
If these things can aid you in getting the job accomplished more efficiently then you should consider purchasing these items too. However, I would rather use Marie Kondo my waxing equipment and keep only the most essential items available.
2. Select the best wax
For sensitive skin, I make my own homemade sugar-based wax. It's cheaper than buying wax from a store as it's created from just 3 components (brown sugar as well as lemon and water). It's healthier for your health, too.
Certain sugar-based recipes don't require strips. You can apply the wax and then tear it off. However, achieving the perfect consistency may require many trials (and wastage of lots of wax).
Instead, I make this recipe for wax that is simple and then use strips of cotton wax to ensure that the wax is removed cleanly:
- 1 cup brown sugar 1 cup brown
- 2 tablespoons of water
- 1 lemon juiced
Mix all the ingredients in a pot at a medium temperature. Stir continuously until you have an incredibly thick, honey-like consistency (it will get darker when it's cooked, but that's fine). It could take between 10 to 20 minutes, depending on the size of your pan and the temperature of your stove.
Remove the pot from the oven and allow it to sit for 20 minutes before thickening up. If it's too thick add 1 teaspoon of water at each interval until it returns to the proper consistency.
If you don't want to make your own wax it's possible to purchase depilatory wax online or from an apothecary in your area.

3. Be sure that your hair is of the proper length
If your hair is small, the wax won't have the proper grip, and you'll end up with messy wax. Hair that's too long may cause a similar problem. To avoid any danger you should aim for about 1/4 inch growth.
4. Prep your skin
Making sure that the skin is clean will help the wax stick to the hair follicles. Cleanse with soap and water, or choose a cleansing product that is pre-wax which will completely evaporate without the need to wash it off.
5. Test the wax by heating it and testing it
If you don't own wax warmer, put your sugar melt into the microwave and wait for it to heat just a little (if using store-bought sugar Follow the directions on the label).
Take a stick of a popsicle and rub a small amount of wax on the wrist's inner surface to ensure it's not too hot. If it's not hot enough, keep heating the wax in intervals of 15 seconds, until it's soft and spreadable, but not enough to cause burns.
6. Pull off in the direction of growth
Make sure the skin is tightly held and swiftly (like you're moving your wrist) take the strip off with the exact direction of hair growth. The skin's tightness makes hair removal less difficult and less painful.
7. Apply a balm to soothe your skin
If you don't feel it is necessary you are free to use an after-wax balm for comfort or spray to soothe swelling, seal the follicles, and get rid of the wax remnants.

How to take care of your Skin following Waxing
Hooray! You've made it through your first home waxing session. The post-wax treatment is equally crucial as the care prior to waxing. Here are some tips you'll need to do in order to help keep irritation and inflammation at the bare minimum:
Let your skin breathe: The process of waxing can be quite traumatic to your hair follicles and skin especially when you're only getting used to it which is why you'll need to allow your skin to recover for several days. This means you should avoid tight-fitting clothing and body products with a strong perfume and lotions as well as deodorant (if you've waxed your underarms).
Do not drink hot water: Since the hair follicles of your hair are exposed, avoid baths, hot showers, or saunas for 24 hours in order to avoid irritation and the possibility of infection.
Exfoliate: When the initial 24-hour period has gone by Gently exfoliate the skin to avoid ingrown hairs.
Do not forget to moisturize! Not necessary, however, at the end of 24 hours, you can apply a gentle moisturizer to keep your skin smooth and healthy.
FAQ's
No, Your hair will grow the same as it did before waxing.
According to the pros, the waxing treatment may last for up to 3 - 4 weeks.
Yes, you can do that. As longer hair will cause more pain during waxing.
No, waxing has no age limit but be sure that you can handle the pain.
Limit your alcohol & caffeine as they can cause your skin to dehydrate, inflamed , and more sensitive.
