All You Need to Know About Manicure And Pedicure

There’s never a bad time to get your manicure pedicure done and painting your own nails not only gives you a sense of satisfaction, but it may also be therapeutic. While your nails do reflect the general state of your health, the way you take care of your nails is a tell-tale sign of your personal hygiene levels. Nobody likes filthy hands or feet via manicure & pedicure at home, so treat your nails with the same care and attention you would give your face.
Many people don’t know about this but your hands can tell how old you are? If you want to keep your age a secret then you should have to keep your hands and feet looking young, clean, and healthy. You need to indulge in regular mani-pedi sessions to maintain nail hygiene and prevent infection.
Sometimes washing your hands is just not enough, that's why we have covered everything from must-have nail tools to the steps of manicures & pedicures for you.
Importance of Manicure And Pedicure

Your hands and feets are the most exposed part of your body that comes in contact with dirt, germs and harsh weather conditions on a daily basis which makes them more vulnerable to damage. That’s where manicures and pedicures come in to provide the proper care and attention.
Manicures and pedicures exfoliate the skin and remove calluses from the feet.
They maintain your nails clean and neat, reducing the risk of fungal diseases.
A simple manicure at home will keep your nails from breaking or chipping, which can be painful. It also protects against dry cuticles, hangnails, and broken skin.
The massage done during manicures and pedicures helps to improve blood circulation, which helps to minimise wrinkles on your hands over time.
They are excellent stress relievers/busters.
Now, you all know the benefits of manicure pedicure and the good news is that you don’t always need to rush to a salon to reap the benefits. If you want to save money or time by doing the job yourself, we'll make your life a bit easier with our comprehensive guide on the tools you'll need, how to use them, and everything else in between.
Manicure & Pedicure Procedure and Supplies You Need
Give your hands and feet a salon-like treatment right at home, all you need are these basic supplies that you can easily find online or at your local drugstore. Once you find all these tools you can proceed with your manicure and pedicure session.
- Non-acetone nail polish remover and cotton balls
- Nail file
- Buffing block
- Sugar scrub to exfoliate
- Orangewood stick
- Cuticle oil
- Moisturiser
Other Basic Requirements:
- A bucket for your feet
- A finger bowl
- Warm soapy water
- Cuticle oil/ Olive oil
- Hand Cream
- Foot Cream
- Nail Polish (optional)
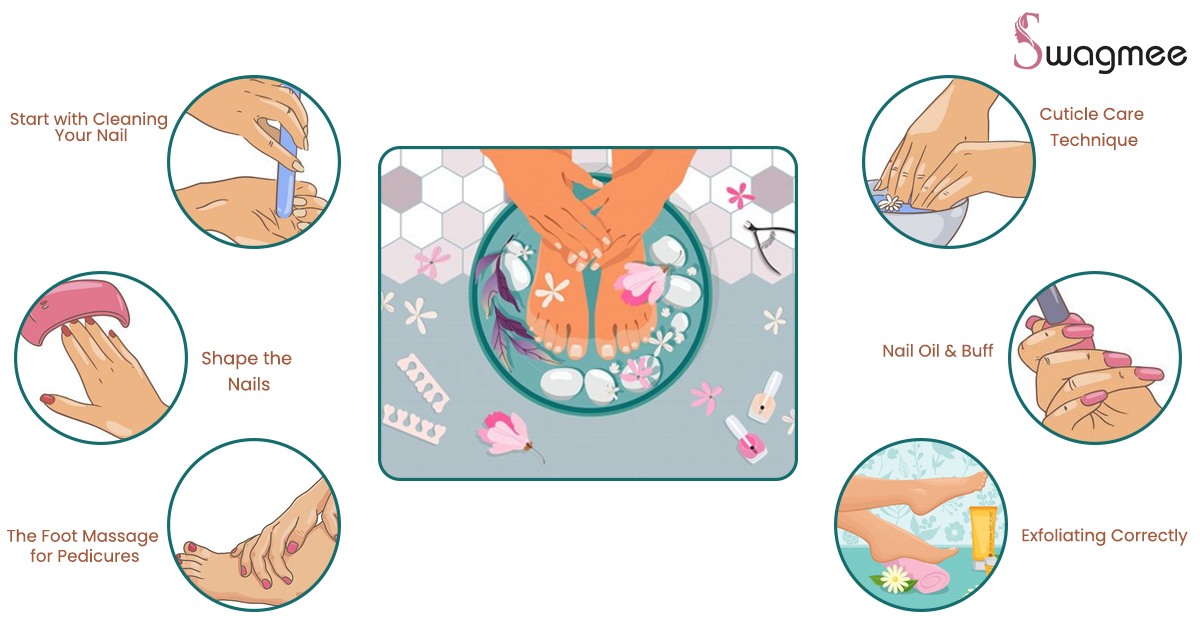
7 Step Procedure for Manicures & Pedicures

Step 1 – Start with Cleaning Your Nail
A clean nail is going to be the most important of all. If you have any nail paint on your nails then remove it with a non-acetone nail polish remover, it’s gentler and will still get the polish off. You can use any inexpensive remover from any discount store.
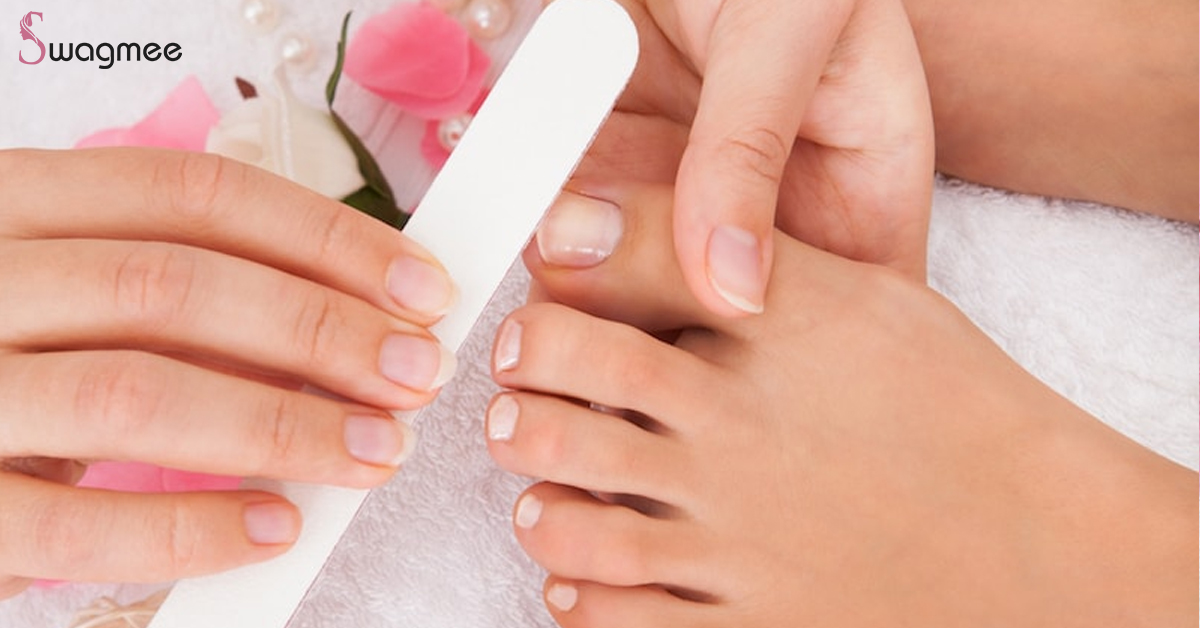
Step 2 – Shape the Nails
File and shape your nails, a good nail shape will compliment your finger. There are numerous options, but keep in mind what you do every day. For example, a long pointed nail may not be appropriate for someone who works with their hands, so choose a short blunt end with gently rounded corners. When filing, move from the outer to the inner corner to avoid sawing on the top of the nail, which can weaken it and cause splitting and tearing. Once you've achieved the proper shape, go over all ten and make sure they're as equal as possible; this will help to produce unity and a more professional appearance to your manicure.
Step 3 – Cuticle Care Technique
Any professional manicure will always look after your cuticles and you can do this in a couple of ways, with a mild soapy finger or foot bath or use a cubicle solvent. If you choose the finger bath then simply fill a small bowl with warm water & hand soap, let your fingers rest in it for 3-4 minutes, remove and gently push back the cuticle with a rounded edge pusher. Alway remember this issue is delicate and over pushing might hurt you and make your finished manicure look bad. Once you have pushed back the cuticle, you can trim any excess skin from the nail.It's critical to trim only the loose skin, not the skin that's still attached, because this could be live tissue, resulting in microscopic cuts and rips that can lead to infection and nail damage.
Step 4 – Nail Oil & Buff
Oil and Buff, Cuticle oil is an excellent resource for nail health. Just put a small dab on each nail and then use a soft buffer to push into the nail. This step provides nutriment to your nail plate and also gives you a really smooth finish for the polish. While dabbing always keep in mind that you never want to over buff the nail, this will weaken the surface and cause bruising on nails.
Step 5- Exfoliating Correctly
Exfoliate with a foot file or body/hand scrub. Soak your feet for at least 5 minutes prior to filing, this will soften the callus and give you a better result. Always remember to file each spot for no more than 30 seconds to avoid creating heat and friction, which can cause a very sore foot. Any callus that is difficult to remove should be left to an expert, such as a podiatrist.
Step 6 – The Foot Massage for Pedicures
Massage is always the best part of manicure pedicure. Just because you're doing a manicure or pedicure at home doesn't mean you can skip the massage. Find a hand or foot cream and massage your feet or hands for a few minutes; this will not only feel good, but it will also help to balance the skin's colour after all the other work you've done, making it look healthier and smoother.
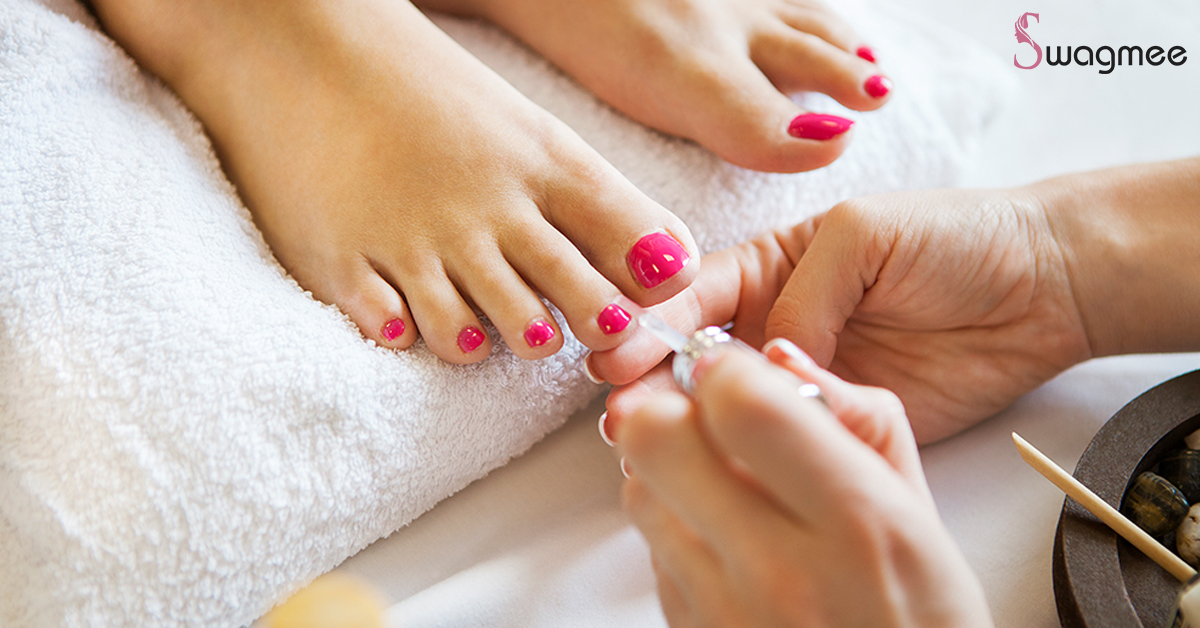
Step 7 – Final Manicure & Pedicure
Clean and prepare your nails for polish, never put nail polish on a wet or oily nail. Oils from lotions or other cosmetics will create a barrier, preventing the polish from drying out.
What are the hygiene and sanitation methods to be used for manicure and pedicure?
There are three levels of decontamination, sanitation, disinfection and sterilisation. The lowest level is sanitation, which significantly reduces the number of disease-causing microorganisms which means all tools and equipment that come in contact with a client must be cleaned and disinfected before every use. After sanitation, disinfecting comes which destroys microorganisms and most disease causing pathogens on non-living surfaces and pre-cleaned surfaces. Sterilisation destroys all living organisms on an object or surface completely. We, at Swagmee, follow all the safety precautions required to perform all the beauty services at home.
The majority of salons adheres to minimum standards and at the very least disinfect their equipment. Disinfecting, by the way, refers to the use of a product that has been registered with the EPA and contains the term "disinfectant." This indicates it's bactericidal, fungicidal, and virucidal, which are all positive things as far as you are concerned. They should be disinfected for at least 10 minutes, as this is the recommended dwell time for the product to effectively kill the bacteria."
FAQ's
Basic manicure pedicure, French manicure pedicure, Reverse French manicure or pedicure, American manicure or pedicure, Gel manicure or pedicure, Paraffin manicure or pedicure.
Manicure and Pedicure is a relatively quick process and usually takes 30 to 60 minutes. They are relaxing and rejuvenating, as well as essential for nail health.
Gel manicure lasts as long as it uses UV light to cure and harden the liquid polish, which makes it last up to three times longer than regular polish.
Pedicures can be relaxing, but they can also be painful and ticklish.
A classic manicure pedicure can last around 2 weeks or more. However, Gel manicure should last at least four weeks, and the length of time it lasts will likely be decided by how quickly your nails grow.
